
If your goal is an easier, safer kitchen for aging in place or daily accessibility, start with layout and reach—then add details that support independence. This guide shows practical, Ontario-friendly ideas you can apply right away, with options for any budget.
Quick wins to expect: fewer trip hazards, less bending and over-reaching, simpler daily routines, and a kitchen that feels welcoming instead of tiring.
What Accessible Kitchens Get Right
An accessible kitchen prioritizes three things:
- Space to move between key zones without tight turns.
- Work surfaces and storage within reach from seated or standing positions.
- Safe, simple controls on faucets, lights, and appliances.
For a deeper primer, see Deslaurier’s overview of accessible kitchen strategies—useful as general background while you plan your own Ontario project: “7 Ways to Increase Accessibility in a Kitchen Design”.
10 Design Ideas
1) Make Room to Move
Start with clear, continuous floor space. Where possible, allow a turning circle and clear reach zones in front of sinks, appliances, and worktops so devices like walkers or wheelchairs can maneuver without bumping doors or hot surfaces. Best-practice guidance in Canada calls for clear floor areas in front of fixtures and generous turning space between them, which improves safety for everyone, not only mobility-aid users.
Quick steps
- Keep door swings and dishwasher doors from blocking paths.
- Favour open U- or L-shapes with pass-through routes.
- Use pocket or sliding doors near tight corridors.
2) Lower or Adjustable Worktops
At least one work surface should be reachable and comfortable for seated and standing users. Canadian guidance allows a range for accessible counters and expects knee/toe space so a person can roll in close to the task. This simple change reduces shoulder strain and keeps tasks stable.
Try this
- Add a ~800 mm-wide prep zone in the 730–860 mm height range, with knee clearance and toe kicks beneath.

- Consider a lift-assisted, height-adjustable section for shared households.
- Use rounded edges to reduce bumps against knees and hips.
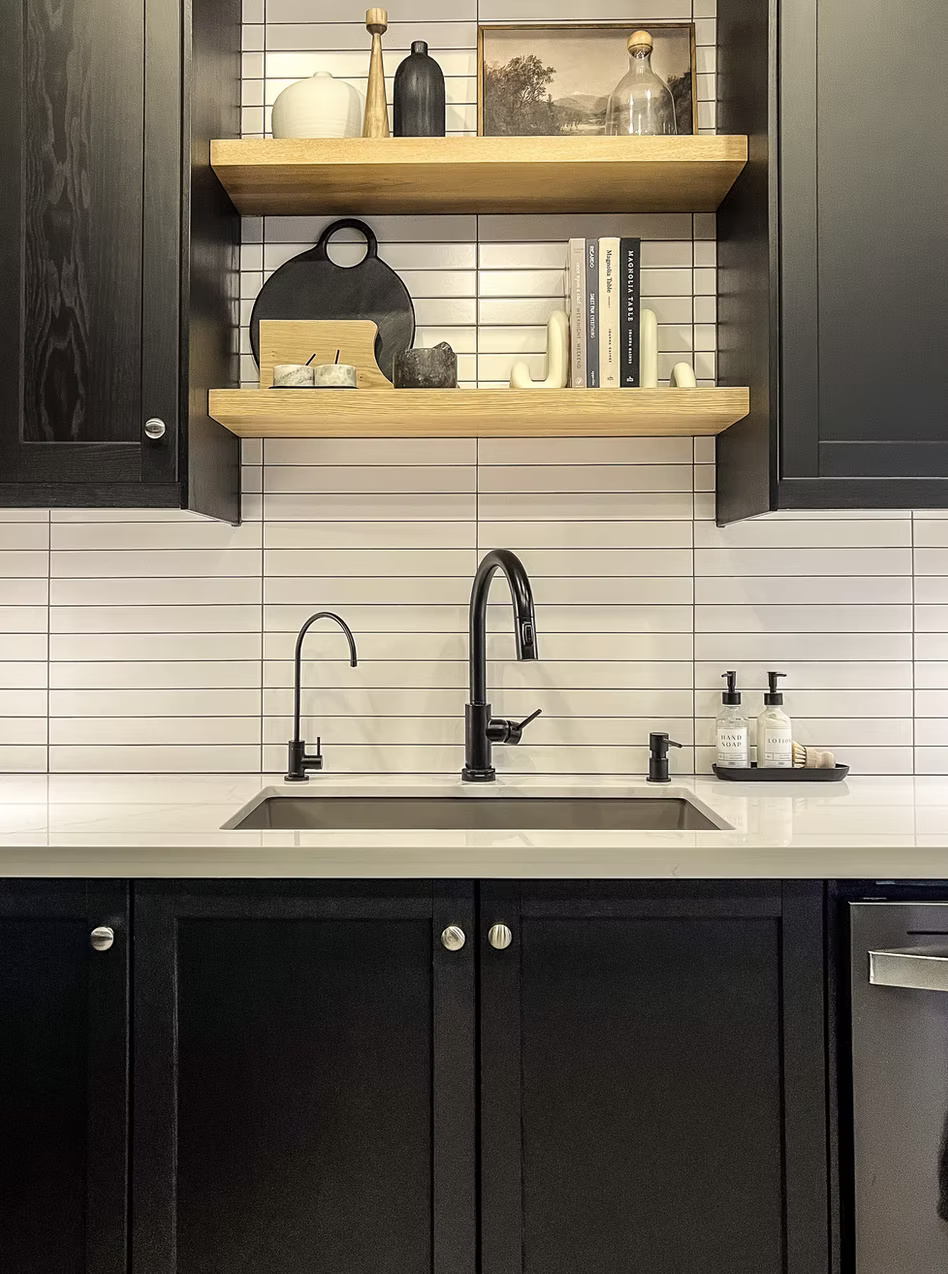
3) A Sink That Works Seated or Standing
A shallow sink with a rear-offset drain frees up knee space and keeps hot pipes away from legs. Pair it with lever or touch faucets and an accessible rim height so rinsing dishes is controlled and comfortable from any position. Canadian housing guidance also suggests insulating or protecting supply and drain lines.
Good choices
- Single-lever or touch-activated faucets with anti-scald settings.
- Pull-out spray wands with soft buttons.
- Clear space under the sink plus a small side landing area for heavy pots.
4) Safer Cooktops and Ovens
Front-mounted controls on an induction cooktop reduce reach over heat and cut burn risk. A side-hinged or wall oven at an accessible height makes loading trays more secure. Allow nearby landing space for hot items. Canadian resources on accessible appliances stress planning clear space around each appliance and selecting models with easy-to-use controls.
Better options
- Induction cooktops (cooler surface, precise control).
- Ovens with side hinges or sturdy pull-out racks.
- Controls with tactile markings or large, readable displays.
5) Storage That Comes to You
Drawers and pull-outs bring contents within reach and reduce awkward crouching. Swing-down shelves and full-extension slides help at upper and lower levels. A Canadian accessibility framework also highlights “accessible storage options” as a key kitchen success factor.
Upgrades with big impact
- Deep drawers for pots, with adjustable dividers.
- Pull-out pantries and corner solutions that eliminate blind spots.
- D-pull handles or wide bars; avoid small knobs that are hard to grasp.
6) Accessible Appliances, Thoughtful Placement
Think through door swings, handle effort, and loading heights. A bottom-freezer refrigerator with large door bins can be easier to use than high overhead shelves. Microwaves are safest at or just below counter height—high over-the-range installs often require unsafe lifting. The RHFAC checklist specifically calls out microwave mounting height, refrigerator ease of opening, and clear approach space.
Placement ideas
- Put the microwave in a base cabinet or a wall niche with a stable landing surface.
- Choose dishwashers with easy-pull racks; drawer models can be helpful in tight rooms.
- Group fridge–sink–prep–cooktop in a compact “work corridor” to limit long carries.
7) Lighting, Contrast, and Visibility
Bright, even, glare-controlled lighting cuts mistakes and improves comfort. Layer task lighting under cabinets, diffuse general lighting, and targeted accent lighting at controls. A recognized Canadian rating tool for meaningful access includes “well-illuminated” spaces as a core success point—strong support for prioritizing lighting early in design.
Design for seeing, not squinting
- Add under-cabinet LEDs to eliminate shadows at prep zones.
- Use matte, low-gloss finishes to reduce glare.
- Build in colour contrast at edges (counter to floor, handle to door) so shapes are easy to read.
8) Floors, Thresholds, and Edges
Slips and trips are the most common kitchen injuries. Use firm, slip-resistant flooring and keep transitions flush. Where doorways remain, aim for smooth thresholds and clear sightlines—Canadian guidance often emphasizes clear space at doors so users can operate handles and pass through without awkward turns.
Simple wins
- Choose textured vinyl, cork-rubber, or matte tile with good wet traction.

- Keep rugs to a minimum; secure any runners.
- Highlight stair edges and transitions with contrasting strips.

9) Smart Controls and Everyday Ease
Small touches add up: rocker light switches, motion sensors at pantry lights, or voice control for lighting and plugs. Touch-to-open drawers and soft-close slides help people with limited dexterity. Many Ontario homeowners pair these features with adjustable counters for a flexible, long-term solution. (See also the national draft work on knee and toe clearances for the built environment, which aligns closely with Canadian standards.)
Try these
- Voice assistants for lights and small appliances.
- Auto-shutoff plugs for kettles and toasters.
- Push-to-open hardware on upper cabinets.
10) Retrofits for Small or Older Kitchens
Working with compact or heritage layouts? You can still make strong gains. Focus on the three biggest pain points: tight paths, unreachable storage, and unsafe heights. Even modest changes—like moving a microwave to a safe shelf, adding one accessible prep area, and switching to lever faucets—can transform day-to-day use.
Retrofit checklist
- Re-hang a door to swing out or switch to a pocket door.
- Replace two base cabinets with full-extension drawers.
- Insert one lowered or adjustable work surface near the sink or cooktop.
Ontario Codes, Best Practices, and Why It Matters
Private homes in Ontario are not always required to meet the same barrier-free rules that apply to larger residential or public buildings, but aligning with recognized guidance improves safety and usability. Ontario references accessibility in its Building Code and continues to refine built-environment standards, informed by national and CSA work. For residential renovations, using CSA B651 principles and RHFAC concepts will keep your project on the right track even when not strictly mandated.
Reliable references when planning with your contractor
- CSA B651 for kitchen clearances, counter heights, and knee/toe space.
- CMHC for practical appliance and sink solutions that work in Canadian homes.
- RHFAC for checklists that keep lighting, storage, and approach space people-centered.
Ready for a Plan?
Get a practical design and cost range for your home. See how we tailor barrier-free solutions on our Kitchens page, then book your in-home assessment. We’ll measure clearances, suggest height adjustments, and map quick retrofits you can do now—plus a roadmap for future upgrades.
FAQs
What is the difference between “barrier free” and “accessible”?
“Barrier free” describes removing physical obstacles (tight paths, high counters, hard-to-grip hardware). “Accessible” focuses on everyday usability for people with diverse abilities. In practice, your kitchen should do both—remove barriers and add features that support independence.
How much space do I need to turn with a mobility aid?
Plan generous manoeuvring room and clear areas in front of fixtures and appliances to approach and use them safely, following Canadian guidance for accessible layouts. Your exact plan will vary by room size and device; an on-site assessment ensures the right dimensions.
Do I need to rebuild my whole kitchen to see benefits?
No. Start with one accessible work surface, a safer microwave height, and pull-out storage. These three upgrades help most households right away.
Which appliances are best for safety?
Look for induction cooktops, wall or side-hinged ovens at reachable height, easy-open fridges, and dishwashers with smooth-glide racks. Plan stable landing areas beside each.
Where can I learn more while I plan?
For additional background, review this accessible kitchen overview from Deslaurier’s Learning Centre (general education), then speak with an Ontario contractor for a tailored plan.